Step by Step Guide On How To Make Single Piping
There are so many different skills to master in most crafts and trades. You will always find you are learning new skills, tips and tricks to make your life easier. We are frequently asked for demonstrations and how we make things so we thought it would be useful to give you some insider tips. In this blog, we will be giving you a step by step demonstration on how to make single piping.
What is Fabric Piping?
Fabric Piping is a type of decorative trim or embellishment made using folded fabric and piping cord. It can be made as single or double piping and can be made in different thicknesses. It is used to define the edges of a piece of furniture or soft furnishing like a cushion.
Where will you see single piping being used?
It’s used on many furniture types like chairs, benches, as well as soft furnishings like scatter cushions or box cushions. You will see it on the outside back and side of armchairs or sofas, or borders of stools and benches. You will also come across it on scatter cushions or the edges of box cushions. I use it to add a pop of colour when using plain fabrics or to break up a patterned fabric. It’s an essential skill to learn in upholstery and can add a design flourish to your piece of furniture.


Top Tips when you are making piping!
- Piping cord comes in different thicknesses. I tend to use a 5mm piping for single piping, and a thinner cord for double piping so it doesn’t become too bulky.
- You can buy two different grades of piping cord. Paper piping cord which is made from recycled materials but it is not machine washable. The other is white piping which is machine washable. Make sure you choose the right one. Especially if the piping is going onto a piece of furniture that is going to be cleaned or washed you don’t want your piping to disintegrate.
- Never underestimate how much fabric you need to make piping for your furniture -it’s more than you think. Have a good measure up first.
- Some projects need reams of piping cord. In this case, you need to join two or pieces of fabric together to create one long strip of piping. If you want to create continuous piping go up the length of the fabric roll to avoid too many fabric joins.
- If you are matching your piping joins up to other panels measure where you want your piping joins to be before you sew them together.


Here’s some advice and tips on how to make single piping:
1. You will need a piping foot for your sewing machine, thread to match your fabric, a soft tape measure for working out how much piping you need, a ruler for measuring your fabric, Taylors chalk for marking and scissors for cutting
2. Measure the area where you need piping allowing a small allowance.
3. Mark and cut fabric strips 1.75” wide. If you need to join lengths of piping for a large project cut the length of the fabric to avoid multiple joins.
4. Cut out your fabric and measure your piping cord to the same length as your fabric.
5. Set up your sewing machine with the single piping foot and thread.
6. If you are doing long lengths of piping join the fabric together using the sewing machine. If patterned fabric remember to match the pattern, and if it is a fabric with a knap like velvet make sure it is matching.
7. Put the piping cord in the centre of the fabric strip and fold in half.
8. Place under the single piping foot, with the corded section under the foot, and start to sew. Don’t add to much tension, keep folding the fabric in half, making sure that the fabric is meeting at the raw edge and that the cord is going through the foot evenly.


Hey Presto! You have a piece of single piping cord ready to add to your project.


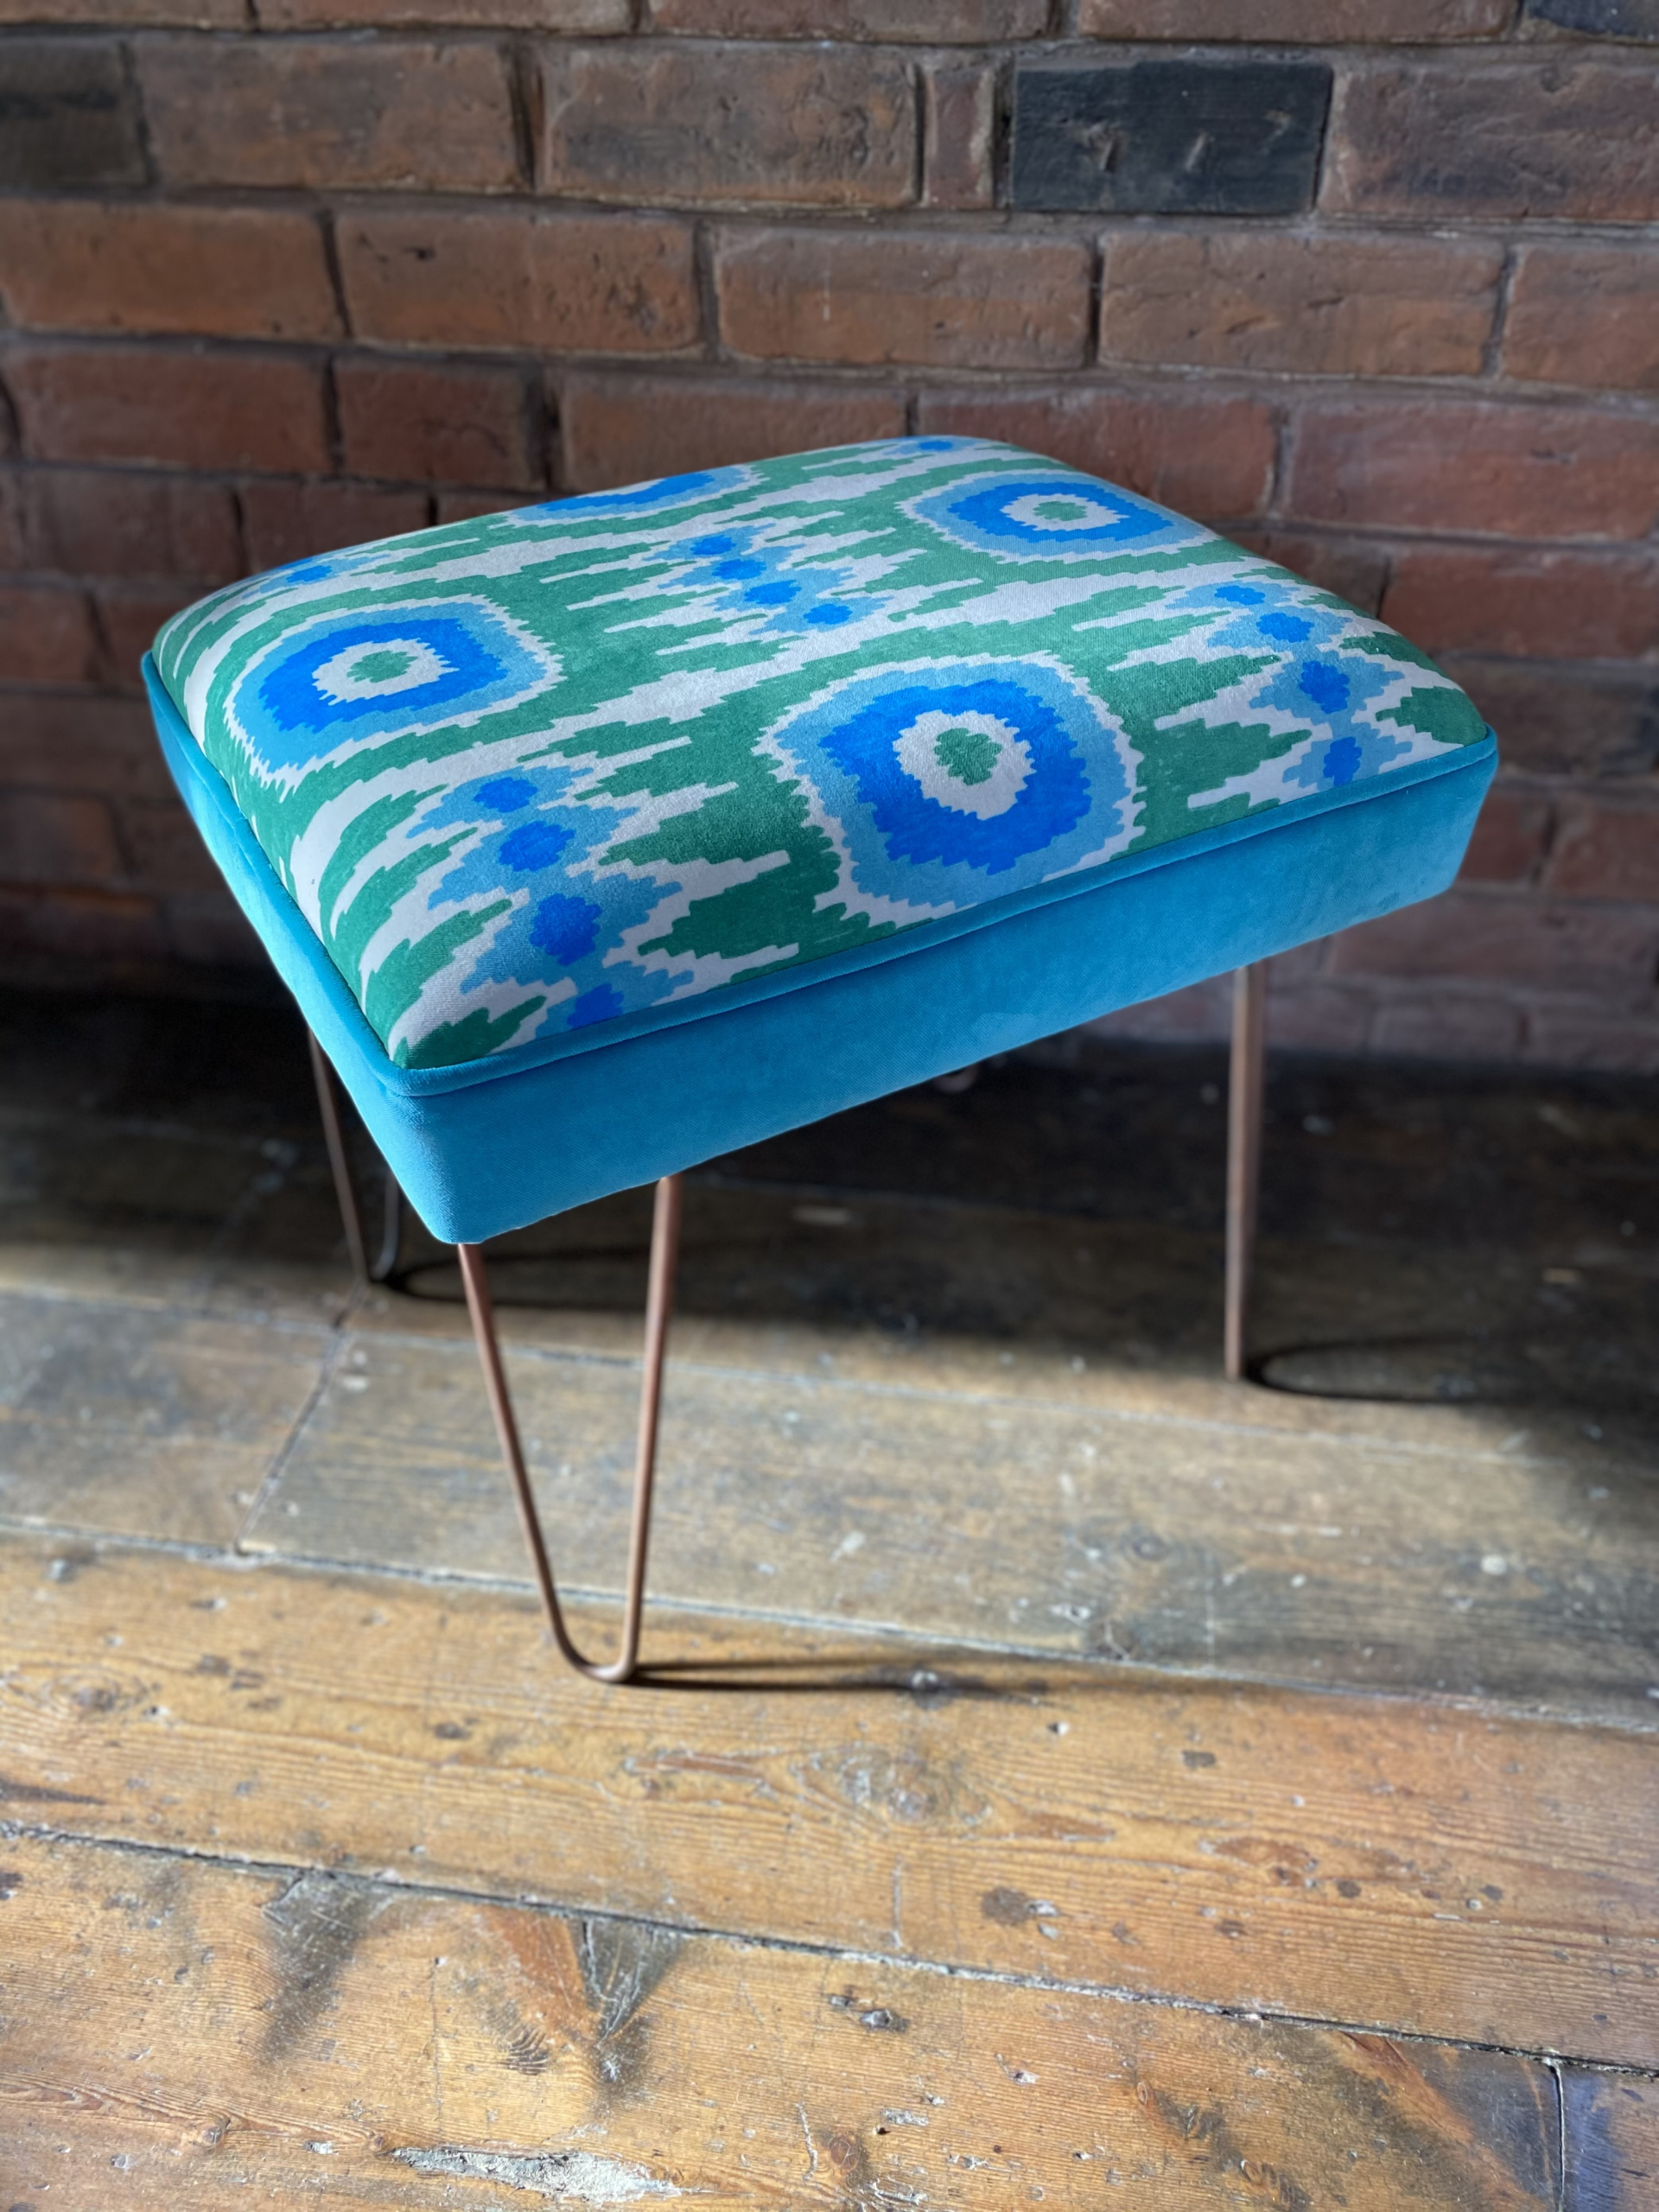
Here’s some examples of how we’ve used it on projects.


Have a practice with single piping, once you’ve mastered this you can move onto double piping. This is a great finish for projects that need raw stapled edge covering, or next to bare wood.

Are you feeling anxious about having a go yourself? If you would rather have a go with an expert to guide you, why don’t you come and try it out for yourself at our upholstery workshop? The benefits are all the tools and materials are provided for you in a safe environment. You will be provided with full training by Emma an experienced upholsterer, who started it out as a hobby. So you get an opportunity to ask all the questions you like from someone who has shared a similar experience. You will be amazed at the results that you can achieve.

Nigel created a new stool for his home learning the new skill of single piping. He had had started doing a few small projects at home, but wanted to have a go with an expert in a safe environment where he could ask questions, grow his confidence & skills. The end result was brilliant and he shared some kind words about his experience. “Had a fantastic time on the footstool workshop. Very friendly and relaxed atmosphere. Lots of new skills learned and I ended up with a new piece of furniture that I am really proud of. Thanks Emma for a brilliant experience”.
Interested in getting creative and learning something new? If you would like to learn a new skill, this is an opportunity to make an item of furniture to treasure forever, and a reminder of the fun that we can have when we tap into our creative side. This is playing in style for creative grown- ups eager to have a fun escape from the pressures of everyday life. You can view our full calendar or workshops here or our next Stool workshop is Wednesday – Thursday 14th-15th July or, Wednesday – Thursday 11th -12th August.

